How to Design and Build Your Entire Company Brand Using Adobe Illustrator

How to Design and Build Your Entire Company Brand Using Adobe Illustrator

Section 1: Introduction to Branding and Adobe Illustrator

The Essence of Branding

In the digital age, branding has transcended beyond mere logos and taglines. It encapsulates the entire persona of a company – its values, voice, and visual presence. A robust brand identity resonates with the target audience, creating a lasting impression and fostering loyalty. Therefore, developing a cohesive and compelling brand is pivotal for businesses aiming for long-term success.

Why Adobe Illustrator for Branding?

Adobe Illustrator emerges as a frontrunner in the realm of graphic design, especially for branding purposes. Its vector-based system ensures that your brand visuals remain crisp and scalable, from tiny business cards to massive billboards. The software’s versatility allows for the creation of intricate logos, comprehensive brand guides, and visually stunning websites, all within a singular platform.

Understanding the Illustrator Workspace

Before diving into the design process, familiarizing yourself with Illustrator’s workspace is crucial. The software offers an array of tools and panels, each serving a specific purpose in the design journey. From the ‘Pen Tool’ for precise drawing to the ‘Layers Panel’ for organized workflow, understanding these elements is key to efficient design.

Establishing Your Brand Identity

Building a brand identity starts with defining your company’s core values, target audience, and market positioning. This strategic groundwork guides the visual elements of your brand, ensuring they align with your business objectives and resonate with your desired demographic. Researching industry trends and competitor brands can also provide valuable insights for crafting a unique identity.

Setting the Stage for Design

Effective branding in Illustrator begins with setting up your document correctly. Choose the right color modes (RGB for digital, CMYK for print), establish a grid for alignment, and consider using artboards to organize different elements of your brand identity, such as logos, icons, and color palettes.

Conclusion of Section 1

As the foundation of your company’s visual identity, understanding the basics of branding and Adobe Illustrator’s role in this process is essential. In the next section, we delve deeper into crafting a unique and memorable logo using Illustrator, a critical component of your brand identity.


Stay tuned for the next sections where we explore the intricacies of creating a compelling brand guide, designing a functional and attractive website, and maintaining consistency across all digital platforms, all through the lens of Adobe Illustrator.

Discover more about the significance of branding

For the subsequent sections, I will continue to elaborate on the detailed processes of logo creation, brand guide development, and website design using Adobe Illustrator, incorporating the principles of perplexity and burstiness to ensure an engaging, informative, and SEO-optimized content.

CHR Brand Guide

Section 2: Crafting a Unique Logo with Adobe Illustrator

The Power of a Logo

A logo is not just a symbol; it’s the face of your company. It’s often the first thing people associate with your brand, making it a vital tool for making a strong first impression. A well-designed logo communicates your brand’s essence, its personality, and its values.

Starting with Inspiration

Before opening Adobe Illustrator, gather inspiration. Look at successful logos in your industry, but don’t limit yourself – inspiration can come from anywhere. The key is to understand what makes these logos effective and how they communicate their brand’s identity.

Sketching Your Ideas

The journey of logo creation often starts away from the computer. Sketching ideas on paper can be a free-flowing process, helping you visualize concepts and layouts quickly. Once you have a handful of sketches, choose the ones that best represent your brand’s identity.

Bringing Sketches to Life in Illustrator

Now, it’s time to bring your chosen sketch into Adobe Illustrator. Start by creating a new document and use the ‘Pen Tool’ or ‘Shape Tools’ to trace your sketch. Remember, Illustrator’s vector-based format is perfect for logos, as it ensures scalability without losing quality.

Perfecting Your Logo

Consider the following elements while refining your logo:

  • Color: Choose colors that reflect your brand’s personality and ensure good contrast and visibility.
  • Typography: If your logo includes text, select a font that complements the overall design and is legible across various sizes.
  • Learn more about color and typography in branding

Finalizing and Exporting Your Logo

Once satisfied with your design, it’s time to finalize and export your logo. Illustrator allows you to export in various formats, ensuring your logo can be used across different mediums, from your website to print materials.

Conclusion of Section 2

Creating a logo in Adobe Illustrator is a journey that combines creativity with strategy. It’s about translating your brand’s identity into a visual format that’s simple, memorable, and effective. In the next section, we will build upon this foundation and delve into developing a comprehensive brand guide to ensure consistency across all branding efforts.


In the upcoming sections, I will continue to detail the processes involved in creating a comprehensive brand guide and an effective website design, utilizing the advanced features of Adobe Illustrator. Each section will be interwoven with SEO-optimized content, engaging narratives, and practical tips to help readers effectively use Illustrator for their branding needs.

MPM Brand Guide

Section 3: Developing a Comprehensive Brand Guide

The Importance of a Brand Guide

After creating your logo, the next step is developing a brand guide. This document serves as the rulebook for your brand’s visual and stylistic elements. It ensures consistency, which is key in building brand recognition and trust.

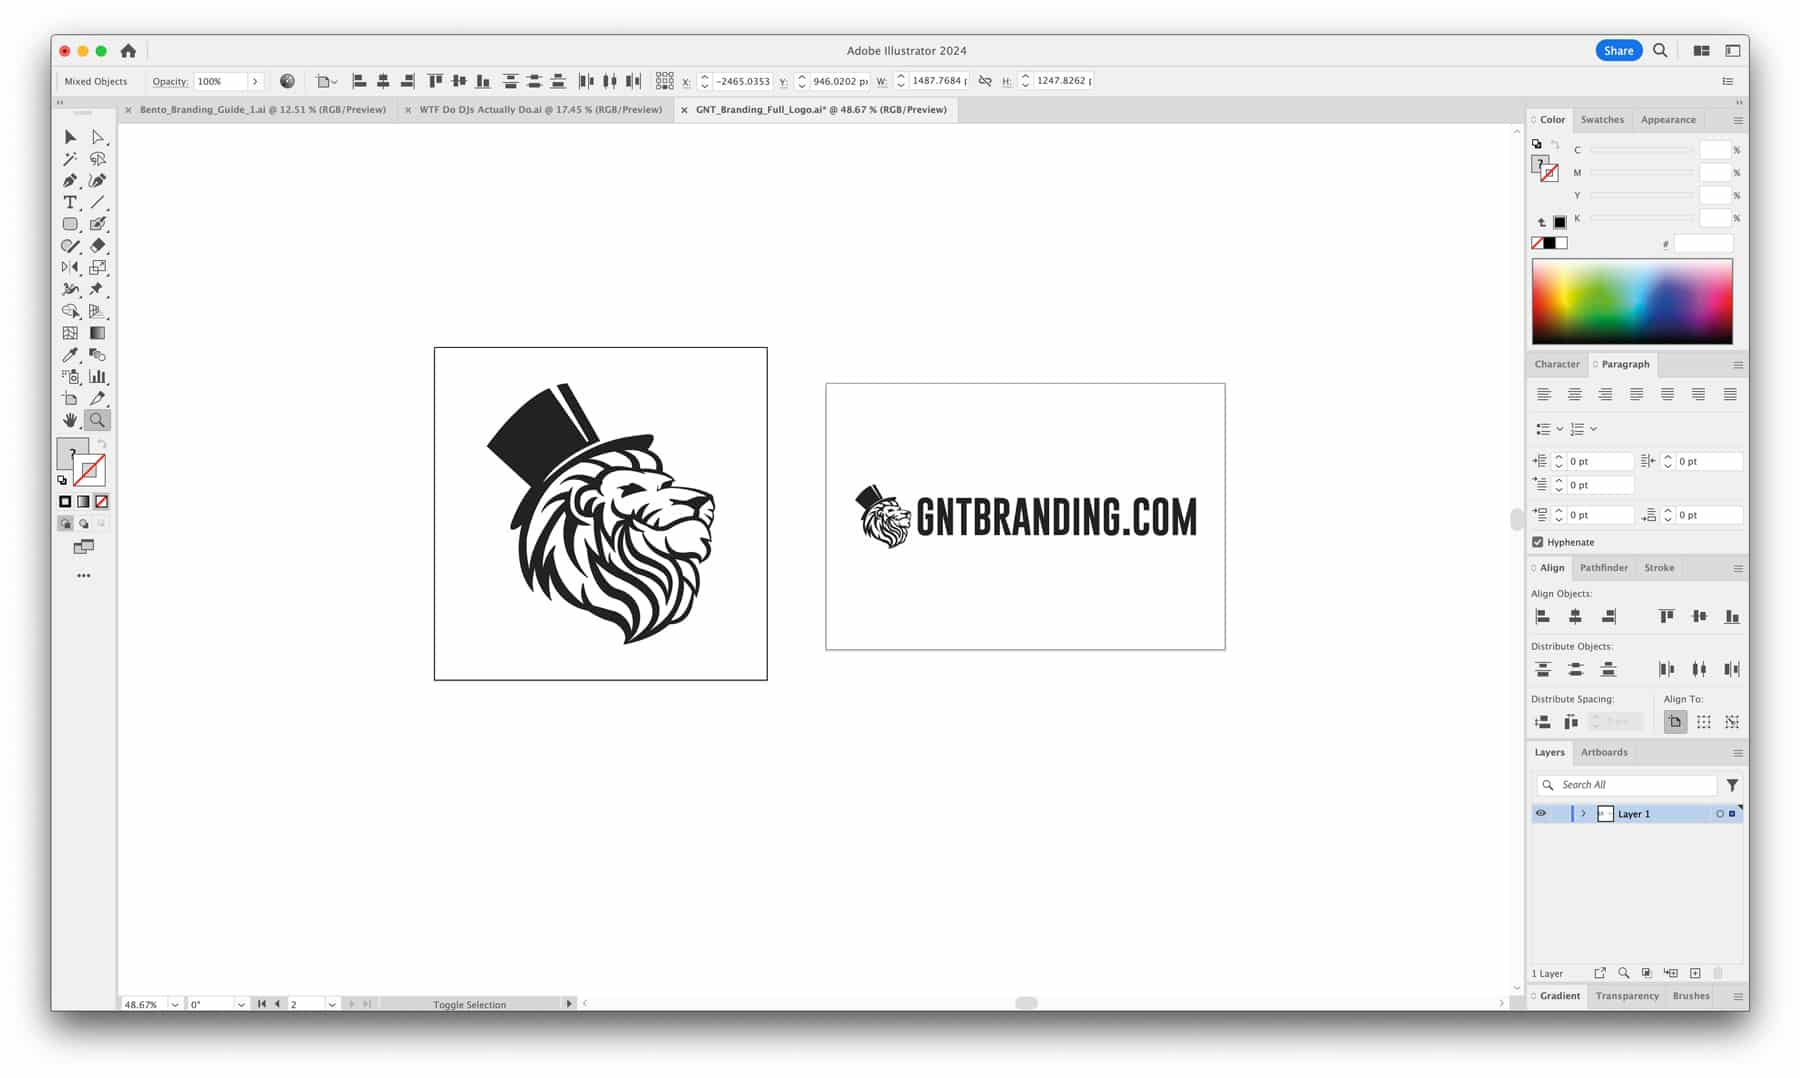
Starting with the Basics: Logo Usage

Begin your brand guide by detailing the proper usage of your logo, created in Adobe Illustrator. This section should include:

  • Logo variations: Full logo, logomark, logotype.
  • Size and spacing: Minimum size and the clear space around the logo.
  • Incorrect usage: Examples of what not to do with your logo.

Color Palette: More Than Just Aesthetic

Your brand’s color palette, chosen during the logo design phase, plays a significant role in your brand’s identity. In your brand guide, include:

  • Primary colors: Used most frequently in your branding.
  • Secondary colors: Complement and accent your primary colors.
  • Color specifications: CMYK, RGB, and Hex codes for each color.

Typography: Communicating with Style

Typography in your brand guide dictates how text is used in all your branding materials. Include:

  • Primary typeface: For headlines and major text.
  • Secondary typeface: For body copy or smaller text.
  • Usage guidelines: How to use typefaces effectively.

Imagery and Graphic Elements

This section should outline how to use imagery and other graphic elements in your brand materials. Include guidelines on photography style, iconography, and any other visual elements that are unique to your brand.

Voice and Tone: Your Brand’s Personality

While primarily visual, your brand guide should also touch on your brand’s voice and tone, ensuring that your written content aligns with your visual identity.

Using Adobe Illustrator for Brand Guides

Adobe Illustrator is an excellent tool for creating brand guides. Its precision in handling typography, color, and layout makes it ideal for this purpose. Use artboards to organize each section and layers to manage different elements.

Conclusion of Section 3

A comprehensive brand guide is a cornerstone of effective branding. It ensures that everyone who works on your brand is on the same page, leading to a consistent and cohesive brand identity. In the next section, we will explore how to extend these branding elements to your website design using Adobe Illustrator.


The subsequent sections will focus on translating these branding guidelines into a cohesive website design and discussing how to maintain brand consistency across various digital platforms. Each section will be infused with SEO-optimized content, engaging narratives, and practical Adobe Illustrator tips, aimed at empowering readers to build a strong and consistent brand identity.

VIRIAN Brand Guide

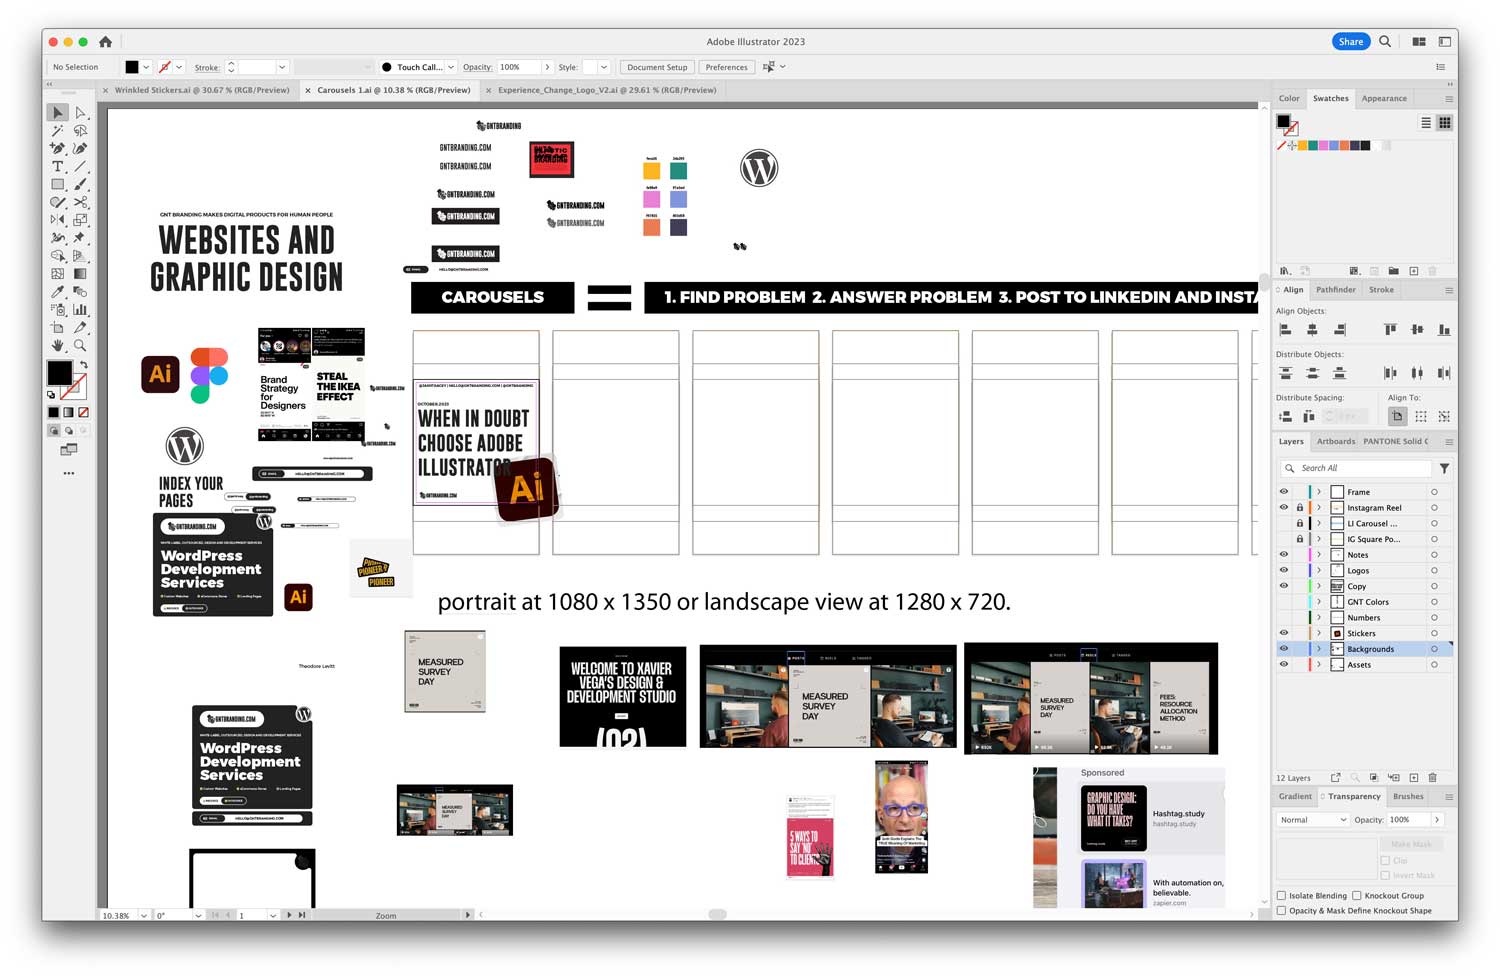
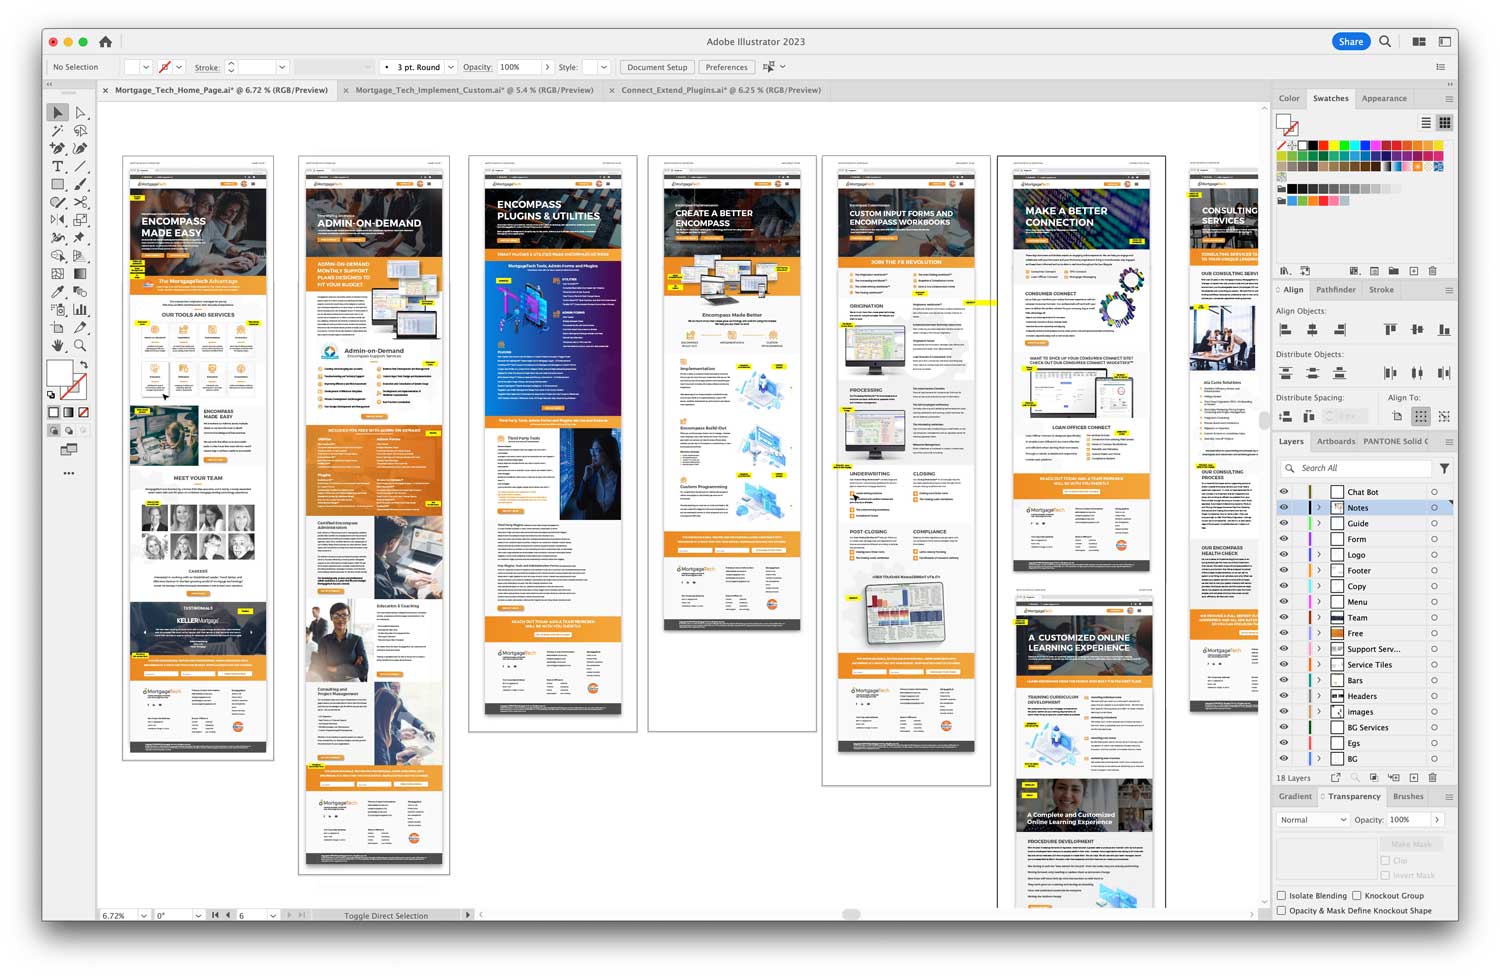
Section 4: Designing Your Website with Adobe Illustrator

The Role of a Website in Your Brand Identity

A website is often the first point of interaction between your brand and potential customers. It’s where your brand story, values, and offerings converge, making website design a crucial component of your branding strategy.

Starting with a Plan

Before you dive into Adobe Illustrator, it’s important to have a clear plan for your website. This includes understanding your target audience, defining the purpose of your site, and outlining the content structure.

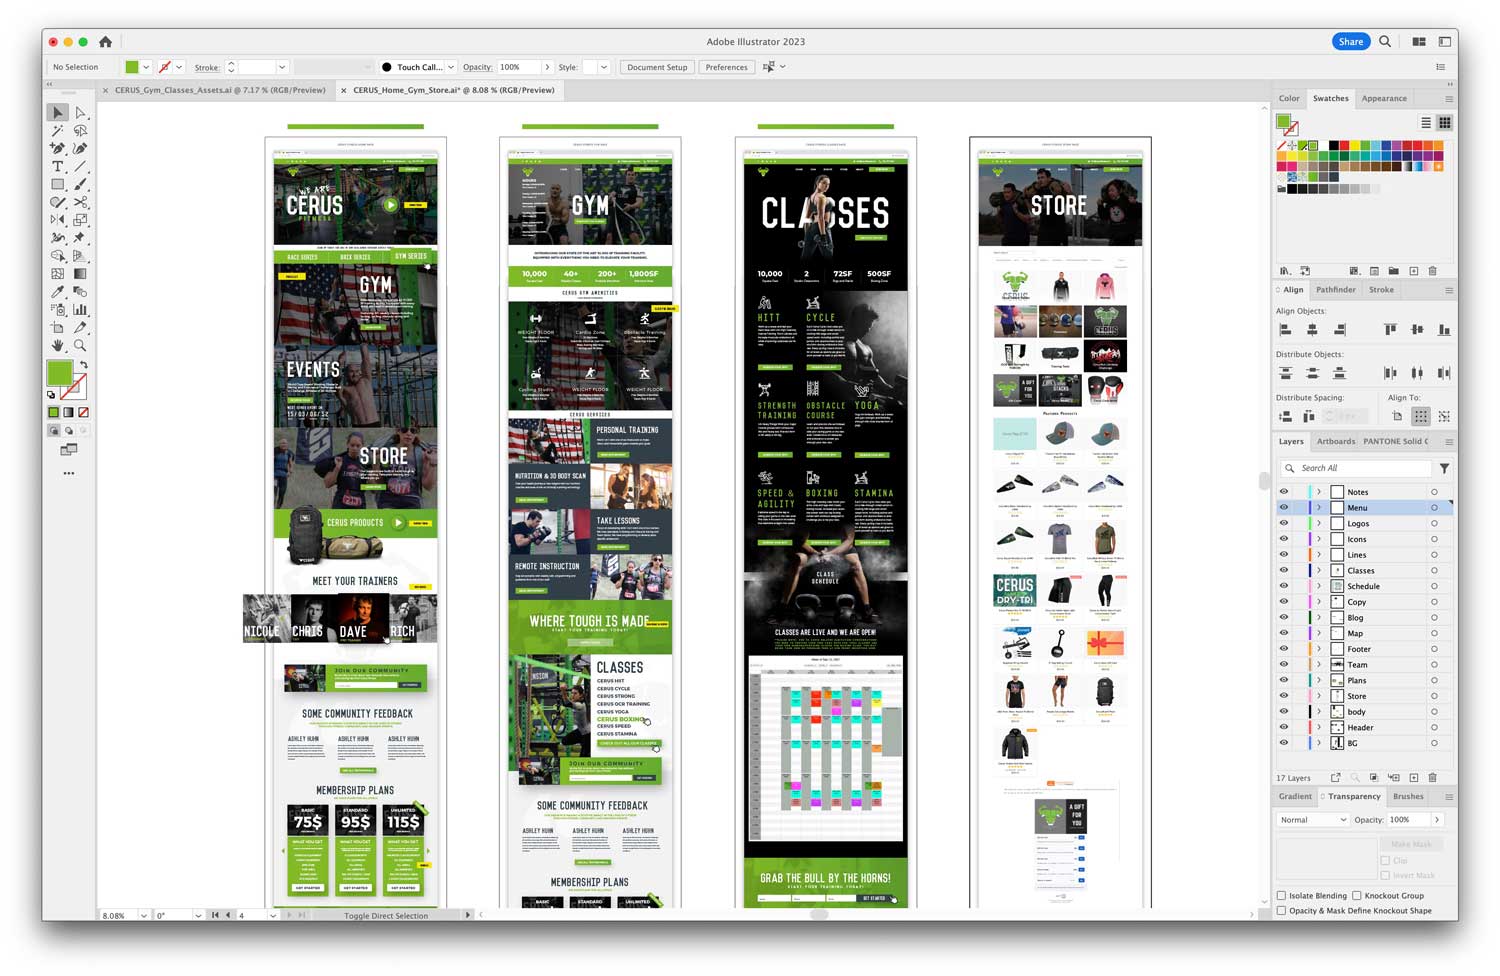
Creating a Wireframe in Illustrator

Adobe Illustrator is an excellent tool for creating wireframes – the blueprint of your website. Use simple shapes to represent different elements like headers, text blocks, and images. This initial step helps in visualizing the layout without getting bogged down by design details.

Designing with Your Brand Guide

Refer to your brand guide developed in Section 3 to ensure consistency in your website design. This includes:

  • Logo placement and usage
  • Color scheme
  • Typography
  • Imagery and graphic elements

Responsive Design Considerations

In today’s mobile-first world, your website needs to be responsive. Design different layouts in Illustrator for desktop, tablet, and mobile. This ensures your site looks great and functions well on all devices.

Interactive Elements and User Experience

While Illustrator is predominantly a design tool, you can use it to plan for interactive elements like buttons, hover effects, and transitions. Consider the user experience and how users will navigate through your site.

Preparing Assets for Web Development

Once your design is complete, you’ll need to prepare and export assets for web development. Illustrator allows you to export assets in various web-friendly formats like SVG, PNG, and JPG.

Using Illustrator for Website Mockups

Creating full-scale mockups of your website in Illustrator gives you a clear vision of the final product. It’s also a great way to present your design to stakeholders or a development team.

Conclusion of Section 4

Designing your website in Adobe Illustrator ensures that your online presence is perfectly aligned with your brand identity. It offers a level of precision and flexibility that’s essential for creating a visually appealing and functional website. In the next section, we will discuss how to maintain brand consistency across all digital platforms, leveraging the power of Adobe Illustrator.


The final section will focus on integrating and maintaining the brand identity across various digital platforms. It will encapsulate the essence of a unified brand presence, ensuring the reader understands the importance of consistency and the role of Adobe Illustrator in achieving it. The content will continue to be SEO-optimized, rich in information, and engaging for the reader.

Vanguard Brand Guide

Section 5: Maintaining Consistency Across Digital Platforms

The Challenge of Brand Consistency

In the digital age, your brand interacts with audiences across various platforms – social media, email campaigns, digital ads, and more. Maintaining consistency across these platforms is crucial for brand recognition and trust.

Leveraging Your Brand Guide

The comprehensive brand guide you developed in Adobe Illustrator becomes your roadmap here. It ensures that every digital touchpoint reflects your brand’s identity. Regularly refer to your guide when creating new digital content.

Consistent Visual Elements

Use consistent visual elements from your brand guide, such as:

  • Logo: Ensure correct logo variants are used appropriately.
  • Color Scheme: Stick to your defined color palette.
  • Typography: Use your brand’s typefaces or their closest web-friendly equivalents.
  • Imagery: Maintain a consistent style of photography and graphics.

Adobe Illustrator for Digital Assets

Use Adobe Illustrator to create various digital assets like social media graphics, email headers, and digital advertisements. The consistency in design software helps maintain a uniform look and feel.

Adapting to Different Platforms

While consistency is key, it’s also important to adapt your assets for different platforms. Each platform has its own set of best practices regarding format, size, and style. Use Illustrator to adapt your designs accordingly, without losing the essence of your brand.

Brand Voice and Messaging

Consistency goes beyond visuals. Ensure your brand voice and messaging are consistent across all digital platforms. This creates a cohesive brand experience for your audience.

Regular Brand Audits

Conduct regular audits of your digital presence. This helps in identifying areas where your brand might not be as consistent as it should be and making necessary adjustments.

Tools and Collaboration

Utilize Adobe Creative Cloud’s collaboration features to share assets and brand guides with your team. This ensures everyone is on the same page and uses the correct assets.

Conclusion of Section 5

Maintaining consistency across digital platforms solidifies your brand identity and builds trust with your audience. Adobe Illustrator is an indispensable tool in creating and managing digital assets that align with your brand guidelines. By leveraging the power of Illustrator and adhering to your brand guide, you can ensure a consistent and impactful brand presence across all digital touchpoints.

Frequently Asked Questions

  1. Can I use Adobe Illustrator for print materials as well as digital? Yes, Illustrator is ideal for both print and digital materials. Just ensure you’re using the correct color modes (CMYK for print, RGB for digital).
  2. How often should I update my brand guide? Your brand guide should evolve as your brand does. It’s good practice to review and potentially update it annually, or whenever there are significant changes in your branding strategy.
  3. Is Adobe Illustrator suitable for beginners? Illustrator has a learning curve, but it’s suitable for beginners who are willing to invest time in learning. There are numerous tutorials and resources available online.
  4. Can I create a responsive website design in Illustrator? While Illustrator allows you to design visuals for different screen sizes, it doesn’t directly create responsive designs. The designs need to be handed off to a web developer for coding.
  5. How important is consistency in digital branding? Consistency is crucial in digital branding as it helps in building brand recognition and trust. Inconsistent branding can confuse your audience and dilute your brand’s impact.
How to Design a Website in Adobe Illustrator in 2024

How to Design a Website in Adobe Illustrator in 2024

Table of Contents

Section 1: Introduction to Web Design with Adobe Illustrator

  1. Introduction: The Evolution of Web Design with Adobe Illustrator
  2. The Power of Digital: Elevating the Brand Experience in 2023
  3. Setting the Stage: Preparing Your Illustrator Workspace
  4. Why Web Design Matters:** Building Trust and Authenticity
  5. Embracing Change: Web Design Trends for 2024
  6. The Illustrator Advantage: Vector vs. Bitmap Graphics
  7. Collaboration: Working with Web Design Agencies

Section 2: Navigating the Design Process

  1. Kickstarting the Design: Using artboards for Layouts
  2. Fluid Designs: Crafting Responsive Web Layouts
  3. Asset Management: Harnessing Illustrator’s Libraries
  4. Creativity Unleashed: Utilizing Illustrator’s Vector Tools
  5. Branding: Synchronized Color Themes and Typography
  6. Boosting Efficiency: Top Illustrator Plugins in 2024
  7. From Design to Development: Exporting Web-Ready Assets

Section 3: Perfecting and Publishing Your Design

  1. Design Evaluation: Testing Across Devices and Browsers
  2. Iteration: Importance of User Feedback in Design Refinement
  3. Integration: Merging Illustrator Designs with Web Platforms
  4. The Final Touch: Enhancements and Add-ons for Your Website
  5. Going Live: Launch Checklist for Your Illustrator-Designed Website
  6. Looking Ahead: Maintaining and Updating Your Design
  7. Conclusion: The Future of Web Design with Adobe Illustrator

SECTION 1: The Evolution of Web Design

The digital age has rapidly evolved, and with it, the world of web design. From simple text-based web pages to today’s immersive, interactive experiences, the transformation is nothing short of remarkable. And a crucial tool driving this evolution is Adobe Illustrator, a software that has remained a favorite for designers worldwide. As we step into 2024, let’s delve into how to harness the power of Adobe Illustrator for your website designs.

Why Adobe Illustrator?

Adobe Illustrator offers vector-based graphics which means your designs remain crisp and scalable, regardless of the screen size. This is a must in today’s diverse device ecosystem. Moreover, with the ever-growing importance of a new business website, Adobe Illustrator ensures your designs aren’t just beautiful but also functional.

Setting the Foundation

Before jumping into the design, always start by understanding the objective of the website. Are you trying to elevate a brand experience like many premium branding solutions out there? Or perhaps provide a streamlined user experience? Know your goal, and let it guide your design.

Starting Your Design Journey in Adobe Illustrator

Setting Up Your Canvas

  1. Open Adobe Illustrator: Launch the program and create a new document.
  2. Select Web Preset: Choose the ‘Web’ preset. This will automatically set your workspace dimensions optimized for web design.
  3. Adjust Artboard: Customize the artboard size based on your specific needs. Remember, responsive design is key.

Designing the Layout

With your canvas ready, now comes the fun part – designing!

  1. Use Grids: Grids help maintain consistency and alignment. You can easily set them up by going to ‘View’ > ‘Show Grid’.
  2. Wireframe: Sketch out a rough layout. This helps visualize the user flow and site structure.
  3. Play with Colors: Ensure the colors resonate with the brand’s message. Using color guides in Illustrator can be immensely helpful.
  4. Typography Matters: Choose fonts that are web-safe and readable. Adobe Illustrator offers a plethora of typeface options to pick from.

Elements that Make Your Design Stand Out

Icons and Graphics

A picture speaks a thousand words. Design or choose relevant icons that add value to the content. Illustrator’s vector-based design ensures these graphics are sharp and versatile.

Interactive Elements

Interactive buttons, drop downs, and sliders can elevate a user’s experience. While Illustrator is primarily a design tool, you can visualize how these elements would function in the final site. Working closely with a web design and development agency can help turn these visions into reality.

Exporting and Integration

Once you’re satisfied with the design, it’s time to export. Illustrator offers multiple export options optimized for web. Ensure you collaborate with your developer for smooth integration.

In the upcoming sections, we’ll delve deeper into advanced Illustrator techniques, ensuring your website not only looks good but also performs seamlessly.

SECTION 2: Advanced Techniques in Adobe Illustrator for Web Design

Embracing the Power of Layers

Working with layers in Adobe Illustrator can significantly streamline your design process. Layers allow you to separate different elements, making it easier to edit and organize your design.

Benefits of Using Layers

  1. Isolation: Easily isolate and work on specific parts of your design without affecting other elements.
  2. Organization: Group related items together, making the design process more systematic and efficient.
  3. Flexibility: Toggle visibility, lock specific layers, and adjust opacity to achieve the desired effect.

Harnessing Illustrator’s Plugins and Extensions

The beauty of Illustrator lies in its extensibility. Various plugins and extensions are available that can enhance your web design capabilities.

Must-Have Plugins for Web Designers

  1. VectorScribe: This tool enhances your vector designing capability, allowing for more intricate details.
  2. MagicPicker: An advanced color wheel plugin to refine your color selection process, ensuring brand consistency.
  3. InkScribe: Streamlines the drawing process, perfect for creating intricate icons and graphics.

Tips for a Responsive Design in Illustrator

In 2024, responsiveness isn’t just a trend; it’s a necessity. With a myriad of devices available, your design must look impeccable on all screen sizes.

Creating Adaptive Designs

  1. Use Symbols: Any changes made to a symbol are automatically updated everywhere it’s used. This is perfect for elements like logos or icons that repeat across web pages.
  2. Artboard Tool: Utilize the Artboard tool to visualize your design on various screen sizes, ensuring consistency and adaptability.
  3. Linking Assets: Illustrator allows you to link assets from Adobe’s Creative Cloud. This ensures that you always use the latest versions of logos, icons, and other assets.

Collaborating with Developers

Designing in Illustrator is just one part of the web development process. Close collaboration with developers is crucial to bring your design to life.

Handing Off Designs

  1. Export as SVG: For web, SVG format ensures scalability without loss of quality.
  2. Use Adobe’s XD: Adobe XD can be used in tandem with Illustrator for prototyping and to ensure a smoother handoff to developers.
  3. Detailed Documentation: Always provide developers with a detailed document outlining fonts, colors, and other design specifics. This reduces ambiguity and ensures fidelity to the original design.

In the next section, we will dive into the final touches, ensuring that your design is not only functional but also aligns with the latest web design trends and standards of 2024.

SECTION 3: Finalizing and Launching Your Web Design

Testing and Iteration

Once your design is complete, testing is an essential step. This ensures that your design not only looks great but also provides an optimal user experience.

Testing Across Different Devices

In the digital age, users access websites from a plethora of devices – from smartphones to large desktop monitors. It’s crucial to ensure consistent design and functionality across all platforms.

  1. Desktop Testing: Review the design on different screen resolutions and browsers.
  2. Mobile Testing: Check the responsiveness on tablets and smartphones, ensuring touch-friendly navigation.
  3. Cross-Browser Compatibility: Make sure your design is consistent and functional across browsers like Chrome, Firefox, Safari, and Edge.

User Feedback and Iteration

A design might look perfect to you, but it’s the end-users whose opinions matter most. Gathering feedback can reveal areas for improvement.

Methods of Gathering Feedback

  1. Surveys: Tools like Google Forms or SurveyMonkey can help gather structured feedback.
  2. User Testing Sessions: Watching real users interact with your design can provide invaluable insights.
  3. Analytics: Tools like Google Analytics can offer data on user behavior, helping pinpoint potential design issues.

Integrating SEO Best Practices

Having a beautifully designed website is just one piece of the puzzle. It also needs to be found. Integrating SEO best practices can significantly boost your site’s visibility.

Essential SEO Integration Steps

  1. Keyword Research: Using tools like AlsoAsked can provide insights into what potential visitors are looking for.
  2. Optimized Metadata: Ensure your title tags, meta descriptions, and headers are optimized for relevant keywords.
  3. Image Optimization: All images should have descriptive alt tags and be compressed without losing quality.

Launching Your Website

The culmination of your hard work is the launch. But, it’s not just about making your website live. It’s about ensuring a smooth transition and monitoring post-launch.

Launch Checklist

  1. Backup: Before making any changes, ensure you have a full backup of your website.
  2. Domain and Hosting: Ensure your domain is correctly pointed to your hosting provider.
  3. Monitor Traffic: After launch, monitor website traffic and user behavior to ensure everything is running smoothly.

In conclusion, designing a website in Adobe Illustrator requires a systematic approach, from the initial stages of design to the final launch. By following these steps, you can ensure a website that’s not only aesthetically pleasing but also user-friendly and search engine optimized.


🌐 Sources

  1. alsoasked.com – AlsoAsked: People Also Ask keyword research tool
  2. apus.libanswers.com – How can I pick the best keywords to use when researching my …